
How to Add Custom Sounds and Sirens
Adding custom sounds and sirens is one of the easiest ways to enhance realism and immersion in your game. Whether you’re playing a police simulation or a roleplaying game, realistic audio can make a huge difference. In this guide, we’ll walk you through the process of installing and customizing sounds and sirens for your game, with detailed examples and practical steps.
Content
What You Will Need
Before we begin, make sure you have the following tools and files ready:
- Audio Files: Ensure you have high-quality WAV or MP3 files for the sounds or sirens you want to use.
- Sound Editing Software (Optional): Tools like Audacity (free) for trimming and converting audio files.
- Modding Tools: For FiveM, OpenIV is commonly used to modify GTA V files.
- Backup Software: It’s always a good idea to back up your original game files before making any changes.
- File Explorer Access: To locate your game’s installation directory.
Download Custom Sound Packs
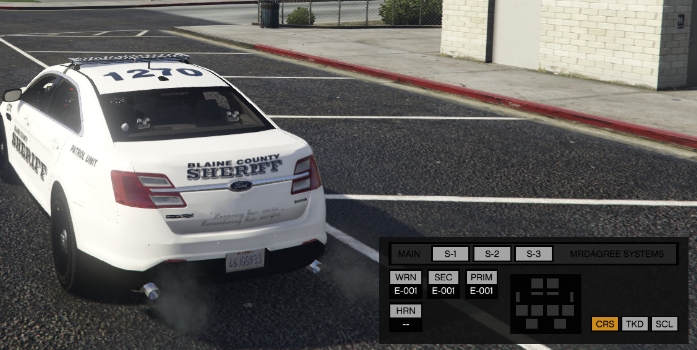
Code 3 Z3 Rumbler Siren | FiveM Ready
Step 1: Preparing Your Custom Sounds
Finding Audio Files
- Look for free or paid siren sound packs online. These often include high-quality recordings of real-world sirens and emergency vehicle sounds.
- Alternatively, you can record your own sounds and edit them.
Editing Audio Files
- Use Audacity or any similar audio editing software to trim, enhance, and convert your files to a compatible format.
- File Format: Ensure your files are in WAV or MP3 format.
- Sample Rate: Set the sample rate to 44100 Hz for optimal compatibility.
- Bit Depth: Use 16-bit audio for consistency.
Save your files with descriptive names like police_siren.wav or firetruck_horn.wav for easier organization.
Step 2: Locating the Game Files
For GTA V and FiveM
- Navigate to your game’s installation directory.
- For FiveM, this is usually located at:
C:\Users\[Your Username]\AppData\Local\FiveM\FiveM.app\ - For GTA V (Steam):
C:\Program Files (x86)\Steam\steamapps\common\Grand Theft Auto V\
- For FiveM, this is usually located at:
- Open the
x64\audio\sfxfolder, which contains sound effect files.
Step 3: Installing Custom Sounds
Using OpenIV
- Download and Install OpenIV
- You can download OpenIV from its official website.
- Install and configure it to access your GTA V files.
- Activate Edit Mode
- Launch OpenIV and enable “Edit Mode.”
- Navigate to the
x64\audio\sfxdirectory.
- Replace Audio Files
- Locate the specific
.awcfiles for sirens or sounds you want to replace.- Example:
RESIDENT.awcoften contains vehicle sirens.
- Example:
- Extract the
.awcfile to your desktop and open it with OpenIV’s “OpenFormats.” - Replace the desired audio files with your custom sounds.
- Repack the
.awcfile and replace it in the game directory.
- Locate the specific
For FiveM Servers
- Create a Resource Folder
- Navigate to your FiveM server directory and create a new folder in the
resourcesdirectory.resources\[custom_sounds]\
- Navigate to your FiveM server directory and create a new folder in the
- Add Audio Files
- Place your custom audio files in this folder.
- Create a
__resource.luafile (orfxmanifest.luafor newer setups) to load the audio.data_file 'AUDIO_WAVEPACK' 'audiowaves/' files { 'audiowaves/police_siren.wav', 'audiowaves/firetruck_horn.wav' }
- Start the Resource
- Add the following line to your server’s
server.cfg:start custom_sounds
- Add the following line to your server’s
Restart your server, and your custom sounds will now be available in the game.
Step 4: Testing and Tweaking
In-Game Testing
- Load your game or join your server to test the custom sounds.
- If the sounds do not play correctly, check the following:
- File paths in your
.luaorfxmanifest.luafile. - Compatibility of your audio files (format and sample rate).
- File paths in your
Tweaking Sound Levels
- Use in-game settings or audio editing software to adjust the volume and balance of your sounds.
- Ensure your sounds do not overpower other game audio.
Step 5: Sharing Your Mod
If you’re happy with your custom sounds, you can share them with others. Create a downloadable ZIP file containing:
- The custom audio files.
- The
fxmanifest.luaor__resource.luafile. - A
README.txtfile with installation instructions.
Upload your mod to a trusted platform or your own website.
Conclusion
Adding custom sounds and sirens to your game is a straightforward process that significantly enhances realism and immersion. With the right tools and a bit of effort, you can personalize your gaming experience or create unique mods for others to enjoy. Start experimenting today and bring your game’s audio to life!