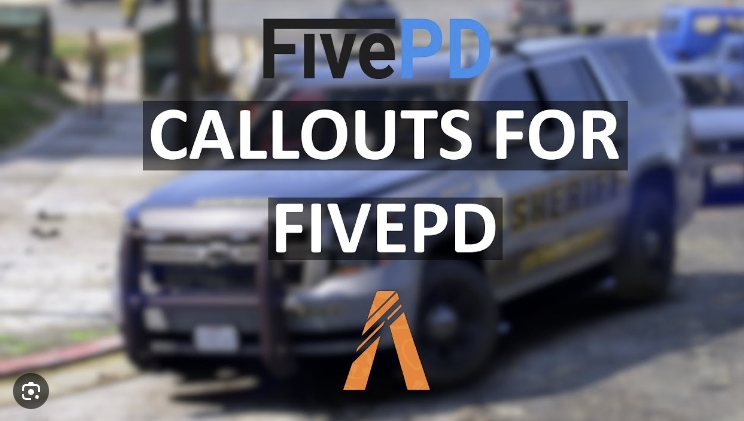
FivePD: How To Add Custom Callouts
FivePD, a popular police roleplay plugin for FiveM servers, enhances immersion by allowing players to respond to dynamic and engaging callouts. Adding custom callouts to FivePD is an excellent way to personalize your server and improve player experience.
This tutorial will walk you through the steps to add custom callouts effectively.
Prerequisites
Before proceeding, ensure you have the following:
- A FiveM server with FivePD installed.
- Access to the server files (via FTP or local access).
- Basic knowledge of file management and text editing.
- A downloaded custom callout (or knowledge of how to create one).
- Optionally, Visual Studio (if you plan to develop custom callouts yourself).
1. Understanding FivePD Callouts
Callouts in FivePD are custom events or scenarios that officers can respond to during gameplay. They range from simple traffic stops to complex hostage situations. These callouts are typically developed using C# and include various details such as:
- Location data
- Interaction mechanics
- Custom dialogues or outcomes
2. Finding Custom Callouts
You can download custom callouts from reputable sources such as:
- FiveM forums: Check for user-created callouts.
- GitHub repositories: Developers often share their scripts.
- Paid resources: Some advanced callouts may be available for purchase.
When downloading a callout, ensure it’s compatible with your FivePD version to avoid compatibility issues.
You can also download our pack here:
3. Installing Custom Callouts
Step 1: Locate the Callout File
Downloaded callouts usually come in a .dll format, often accompanied by configuration files or additional assets.
Step 2: Upload the Callout File
- Access your FiveM server files using an FTP client or directly on your server.
- Navigate to the following directory:bashCode kopieren
/resources/[fivepd]/fivepd/callouts/ - Upload the
.dllfile and any accompanying files (e.g., configuration files) to this folder.
Step 3: Update the FivePD Configuration
Some callouts require you to update the callouts.json file to include the new callout. Follow these steps:
- Navigate to the configuration folder:bashCode kopieren
/resources/[fivepd]/fivepd/config/ - Open
callouts.jsonin a text editor. - Add the new callout’s namespace or identifier as instructed by the developer.
Example:
{
    "EnabledCallouts": [
        "TrafficStopCallout",
        "CustomRobberyCallout"
    ]
}
Step 4: Restart Your Server
Restart your FiveM server to load the new callouts. Use the following console command:
restart fivepd
4. Testing the Callouts
Once your server is back online, join as a player and test the custom callout:
- Use the FivePD menu to force a specific callout (if available).
- Respond to the callout in-game to ensure it works as intended.
- Verify that all interactions, locations, and dialogues function properly.
5. Troubleshooting Common Issues
Problem 1: Callout Not Appearing
- Solution: Check the
callouts.jsonfile to ensure the callout is enabled. - Verify the
.dllfile is placed in the correct directory.
Problem 2: Server Crashes
- Solution: Review the server console for error messages.
- Ensure the callout is compatible with your FivePD version.
Problem 3: Missing Assets
- Solution: Confirm that all required files (e.g., configuration or model files) are correctly uploaded.
6. Creating Your Own Callouts (Optional)
If you want to create a custom callout yourself, follow these steps:
Step 1: Set Up Your Development Environment
- Install Visual Studio with the C# development environment.
- Download the FivePD API (usually available on GitHub).
Step 2: Write the Callout Script
Use the FivePD API to define your callout logic. Here’s a basic example:
using FivePD.API;
using System.Threading.Tasks;

public class CustomRobberyCallout : Callout
{
    public CustomRobberyCallout()
    {
        // Set callout details
        CalloutPosition = World.GetNextPositionOnStreet(Game.PlayerPed.Position.Around(500f));
        ShortName = "Robbery in Progress";
        CalloutDescription = "Respond to a robbery at a convenience store.";
    }

    public override Task OnAccept()
    {
        // Logic for the callout
        ShowNetworkedNotification("Proceed to the location.", false);
        return base.OnAccept();
    }
}
Step 3: Compile the Callout
Compile your script into a .dll file using Visual Studio.
Step 4: Add and Test
Follow the installation steps above to add your custom .dll file to FivePD.
Conclusion
Adding custom callouts to FivePD is a straightforward way to enhance gameplay and make your server stand out. Whether you’re using pre-made callouts or diving into development, these steps will guide you through the process. Remember to test thoroughly to ensure the best player experience.
Enjoy building your custom law enforcement scenarios! 🚔


One Comment